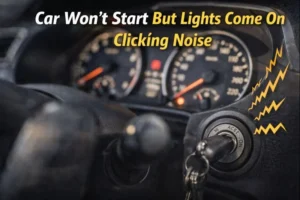
The check engine light is one of those dashboard warnings that can make any car owner pause — but it doesn’t always mean catastrophe. In this guide I’ll walk you through clear, practical steps to diagnose why that light came on and simple, safe tricks to turn it off when the issue is fixed or when the light is lit by a temporary fault.
You’ll learn which quick fixes are appropriate at home, when to use a handheld scanner, why disconnecting the battery works sometimes (and what it actually does), and when clearing the light is the wrong move.
This article combines everyday mechanical sense with official guidance so you can act confidently and responsibly — keeping your car reliable and your emissions system intact.
What The Check Engine Light Actually Means
The Check Engine Light — also called the Malfunction Indicator Lamp (MIL) — is the vehicle’s onboard emissions and engine-monitoring alert.
Modern cars (1996 and newer in many regions) use an On-Board Diagnostics system (OBD-II) to watch sensors and emission-control components; when a monitored item drifts outside expected limits the system stores a fault code and illuminates the light.
In plain terms: the car’s brain noticed something and flagged it for attention.
Why You Shouldn’t Automatically Ignore It
Not all check engine lights are equal. A steady light often signals a less-urgent emissions or sensor fault; a flashing light usually indicates a serious problem such as a severe misfire that can damage the catalytic converter if you keep driving.
Clearing the light without finding and fixing the underlying cause only hides the problem — the code and condition may return, or worse, you may cause further damage. Responsible action is to diagnose, fix if needed, then clear.
Quick Overview: Common Causes
- Loose Or Faulty Gas Cap — A very common, easy-to-fix cause; the fuel system loses pressure and the OBD system flags an evaporative emissions leak.
- Faulty Oxygen Sensor Or Mass Air Flow Sensor — Sensors that drift can trigger codes related to fuel trimming and emissions.
- Misfires From Spark Plugs Or Ignition Coils — Can cause a flashing light and require prompt repair.
- Catalytic Converter Or Emissions System Problems — More serious and expensive, often signaled by multiple codes.
- Temporary Glitches — A sensor hiccup, a brief fuel-vapor leak, or even a software weirdness can light the MIL temporarily; sometimes the system self-clears after a few driving cycles.
Is It Safe To Turn Off The Light Yourself?
Yes — with caveats. If you’ve diagnosed and repaired the root cause, clearing the stored codes is appropriate and standard practice. If you simply clear the light to silence it without fixing the cause, you risk missing a real problem and may fail inspections that check OBD readiness.
Also, forcibly clearing codes (battery disconnect or code-clear) will reset “readiness monitors” used by emissions testing; that can fail a state inspection until the car completes a set of driving cycles. In short: clear only after fixing, or when you understand the consequences.
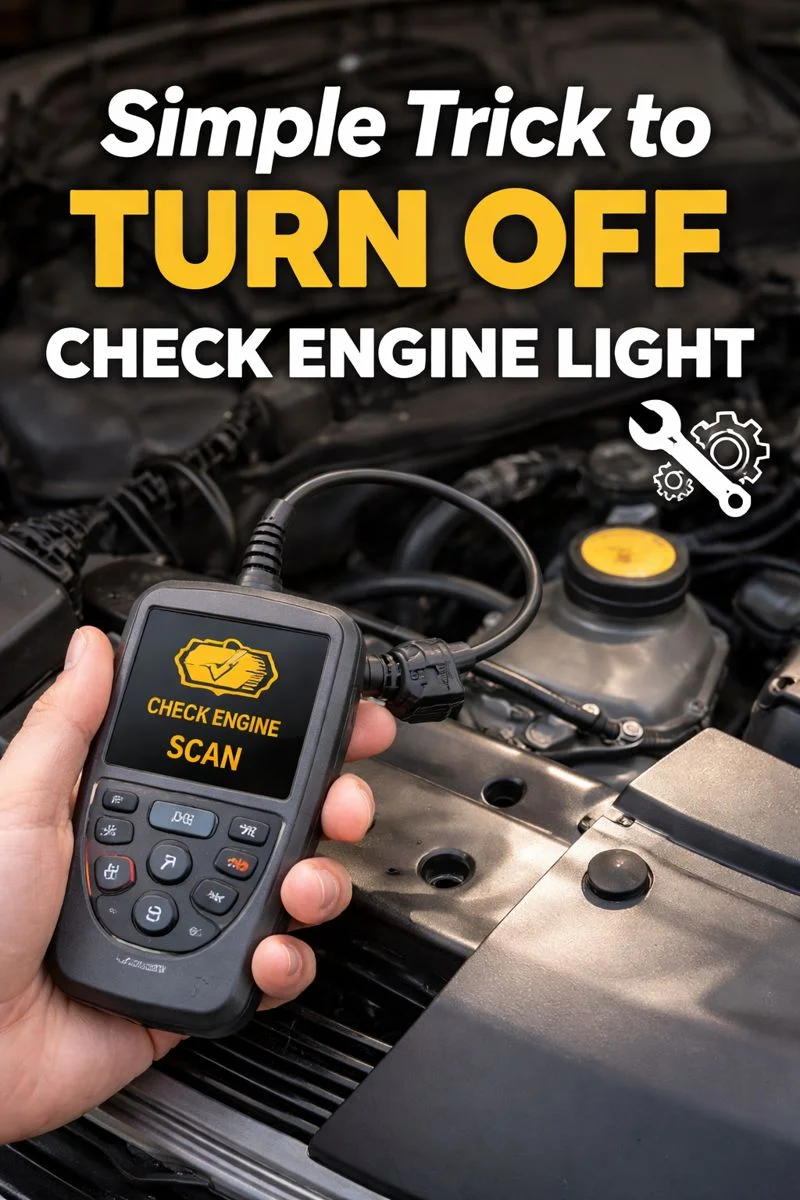
The Simple Trick (And Why It Works): Use An OBD-II Scanner
The cleanest, most reliable method to turn off the check engine light is to use an OBD-II scanner — specifically a BT 5.0 wireless OBD2 scanner paired with a smartphone app.
A BT 5.0 scanner plugs into the vehicle’s diagnostic port and communicates with the car’s computer using Bluetooth. It reads stored diagnostic trouble codes (DTCs) and allows the codes to be cleared after the underlying issue has been fixed.
It is compatible with gasoline vehicles sold in the United States from 1996 onward and work with both Android and iOS apps. Compatibility can vary by vehicle and app, so it’s always best to confirm support for your specific make and model before use.
Why This Method Works
- The scanner communicates directly with the vehicle’s engine control module and retrieves stored fault data.
- Once repairs are completed, the scanner can command the system to erase the code and turn off the check engine light.
- Compared with disconnecting the battery, a BT 5.0 scanner is less disruptive and does not reset radio presets, clocks, or other vehicle settings.
- Bluetooth 5.0 provides a more stable connection and faster data transfer than older Bluetooth versions.
This method mirrors how professional technicians clear codes and is considered the most responsible DIY approach.
Step-By-Step: How To Turn Off The Light Using An OBD-II Scanner
- Get The Right Tool
Use BT 5.0 wireless OBD2 scanner or other OBD2 scanner that pairs with a phone app. Even budget readers will show stored and pending codes and offer a “Clear Codes” function. - Locate The Diagnostic Port
The OBD-II data link connector is usually under the dash on the driver’s side within reach — a trapezoid-shaped plug near the steering column. - Connect The Scanner
Plug in with the ignition off. Turn the key to the accessory or run position (one click before starting) as instructed by your scanner. - Read The Codes
Use the scanner to “Read Codes.” Write them down or photograph the screen. Common codes often have documented meanings you can look up — but avoid guessing fixes. - Diagnose Or Repair
If the code points to a simple issue you can fix (e.g., replace a loose gas cap, swap a dead ignition coil), do the repair first. - Clear Codes
After the repair, select “Clear Codes” or “Erase Codes” in the scanner menu. The light should go out if the fault is gone. - Drive And Confirm
Some cars require a few drive cycles for monitors to reset to “ready” status; drive normally and re-scan to ensure the code doesn’t return.
The Battery Disconnect Method: Myth, Reality, And Risk
What People Do:
- Disconnect the negative battery cable for 15–30 minutes (or longer), then reconnect. This removes power to the ECU and clears volatile memory, which often removes the stored codes and turns off the light.
Why It Works:
- The car’s ECU stores some trouble info in volatile memory that resets when power is removed. The MIL will often go out after power is re-applied.
Why a BT 5.0 Scanner Is Better Than Battery Disconnect
Disconnecting the battery clears memory by cutting power, but it also:
- Resets emissions readiness monitors
- Erases personal settings
- Does not confirm whether the fault is fixed
A BT 5.0 wireless OBD2 scanner clears codes intentionally and cleanly, allowing you to verify repairs and avoid inspection issues.
A More Responsible “Quick Fix”: Fix The Gas Cap
If your codes point to an evaporative emissions leak (EVAP issue), a loose or cracked gas cap is a common and cheap culprit. Real-world mechanics routinely see this — tightening or replacing the cap can stop fuel vapor leaks and clear the code after a few drive cycles.
How To Check:
- Remove the cap, inspect the rubber seal for cracks, thread damage, or dirt.
- Re-seal and tighten until the cap clicks a few times (most caps click once or more).
- After a few start/stop cycles and some driving, the MIL may extinguish on its own if that was the only fault.
Driving Cycle Reset: Let The Car Clear Itself
Many modern cars will turn off a transient check engine light automatically if the fault disappears and the system completes a couple of “drive cycles” — sequences of starts, idling, and highway speeds that let the ECU re-check monitors.
How To Use This:
- If the light is steady and you suspect a temporary glitch (fuel quality, momentary sensor glitch), drive the car for several shorter trips and one or two longer runs.
- Avoid repeated idling-only runs; include highway speed briefly to let the system test catalytic converter and emissions monitors.
- Re-scan after a day or two to be sure the code is gone. This is the least invasive option, but it’s only appropriate for non-flashing lights and suspected temporary faults.
Common Mistakes People Make
- Clearing Codes Without Repairing — The light will likely return and you may mask a developing problem.
- Assuming A Single Fix Will Solve All — Multiple codes can be related; removing one code might reveal another.
- Using Tape Or Hiding The Light — Cosmetic cover-ups don’t address the issue and may be illegal in some inspections.
- Ignoring A Flashing Light — A flashing MIL usually means severe misfire and possible catalytic-converter damage; don’t delay.
When You Should See A Mechanic
- The Light Is Flashing — Immediate professional attention to avoid engine and catalytic-converter damage.
- The Code Is Complex Or Multiple Codes Appear — Modern cars have interlinked systems; let a trained technician diagnose.
- You Lack Tools Or Experience — A pro with a factory-level scan tool can interpret manufacturer-specific codes and freeze-frame data.
- Your Car Fails Emissions Tests — Some faults are subtle and require specialized repair. Professional diagnosis saves time and money in the long run.
Emissions And Legal Considerations
Because the MIL is tied to emissions control, tampering with the system or repeatedly clearing readiness monitors to pass an inspection is both unsafe and sometimes unlawful.
Many inspection programs require monitors to be “ready” and will fail vehicles where monitors show “not ready” after a recent battery disconnect or code clear. Always repair the underlying issue and complete the required driving cycles before testing.
Tools And Parts Checklist For DIYers
- Basic OBD-II Code Reader Or Bluetooth 5.0 — Read and clear codes; cost ranges from modest to professional-level.
- Replacement Gas Cap — Cheap, often available at parts stores.
- Basic Hand Tools — Socket set, screwdrivers, pliers for minor repairs.
- Spark Plugs/Ignition Coils — If misfire codes point to ignition parts.
- Multimeter — For sensor voltage checks if you’re comfortable with electrical testing.
- Service Manual Or Reliable Online Repair Guide — Follow torque specs and correct part numbers.
Troubleshooting Flowchart You Can Follow (Simple)
- Check If The Light Is Flashing
- Yes: Stop Driving If Safe. Get Tow/Repair.
- No: Proceed.
- Yes: Stop Driving If Safe. Get Tow/Repair.
- Check Basic, Cheap Items
- Tighten Gas Cap, Re-Scan After Driving.
- Tighten Gas Cap, Re-Scan After Driving.
- Scan Codes With Reader
- Note Codes. Google Manufacturer Code Meaning Or Lookup In Repair Manual.
- Note Codes. Google Manufacturer Code Meaning Or Lookup In Repair Manual.
- Fix Simple Items First
- Replace Gas Cap, Spark Plug, Coil, Or Sensor If You’re Comfortable.
- Replace Gas Cap, Spark Plug, Coil, Or Sensor If You’re Comfortable.
- Clear Codes With Scanner
- Drive For Several Cycles. Re-Scan.
- Drive For Several Cycles. Re-Scan.
- If Codes Return Or You’re Unsure
- Schedule Shop Visit. Provide Code List To Mechanic.
- Schedule Shop Visit. Provide Code List To Mechanic.
Frequently Asked Questions
Q: Will disconnecting the battery damage my car?
A: Generally no, but you will lose stored settings (radio, clock), and some vehicles may require re-learn procedures for idle or transmission shift logic. Also, readiness monitors reset. For these reasons a scanner is preferable.
Q: How long before the check engine light comes back after I clear it?
A: If the issue is fixed, the light may stay off. If the problem persists, it can return immediately or after a few drive cycles once the ECU re-detects the condition.
Q: Can I use a cheap scanner, or do I need an expensive one?
A: A basic scanner will read generic and many manufacturer codes and clear them; more advanced scanners are useful for brand-specific, live-data, and advanced troubleshooting. For most DIY fixes, an inexpensive reader works fine.
Final Words
The check engine light is a signal — not a sentence. The correct approach is calm, informed action: identify the cause, fix what is practical and safe, and clear the code properly using a BT 5.0 wireless OBD2 scanner.
Avoid hiding the warning or repeatedly disconnecting the battery. If the light flashes or returns after clearing, professional diagnosis is the safest next step. Used responsibly, a scanner helps keep repair costs lower while protecting your vehicle’s emissions system and long-term reliability.